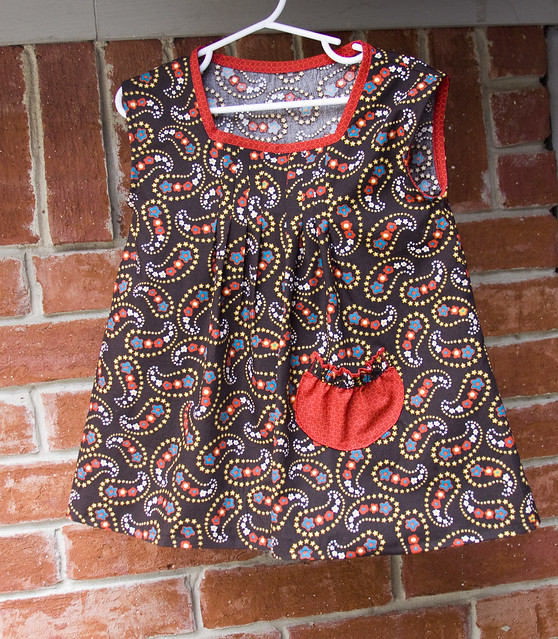
Confession: I actually started this tutorial last summer. I had all the materials cut and ready to go, but then time got the better of me and I never finished it. Also, my child developed a sudden attachment to her old nap mat and rejected the idea of a new one (even after specifically picking out this fabric). So I decided to not bother sewing a new one and shelved the tute for another time. I didn't mean to wait quite this long, but hey, better late than never, right?
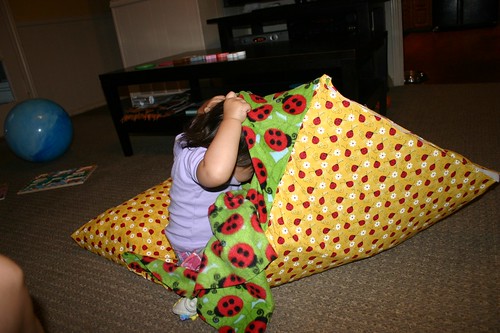
Anyways, two years ago, when I first decided to sew E a nap mat for school, I was surprised to discover how few tutorials were out there. The one that seemed to come up the most was this tutorial by Jenny Garland. I made one from that tute for my friend's daughter, but I had a really hard time with it - I will concede though that that had a lot more to do with my sewing inexperience than the tutorial itself. Difficulty aside, I knew that particular style wouldn't work for what E's school required (they had a lot of rules and guidelines). Long story short, I ended up coming up with something on my own in a backwards sort of way. You can check out the old one in this post.
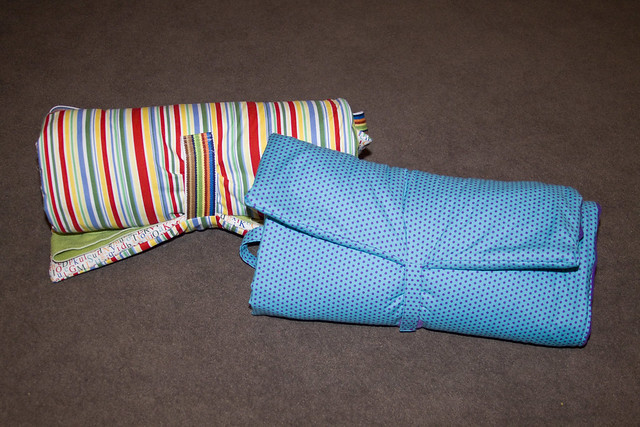
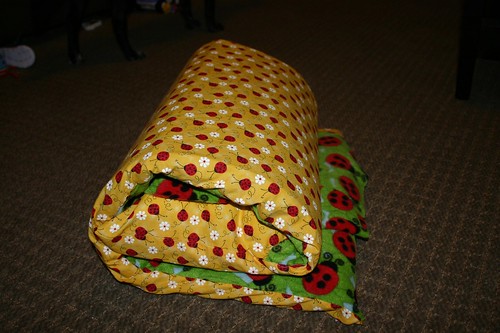
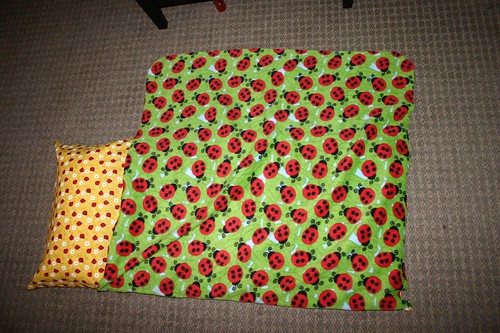
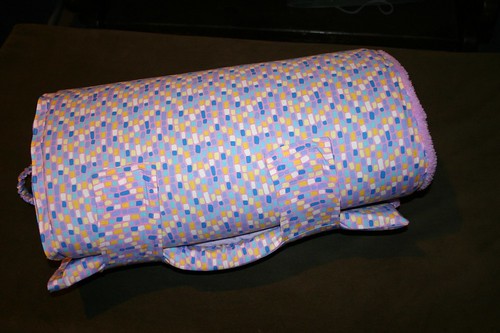
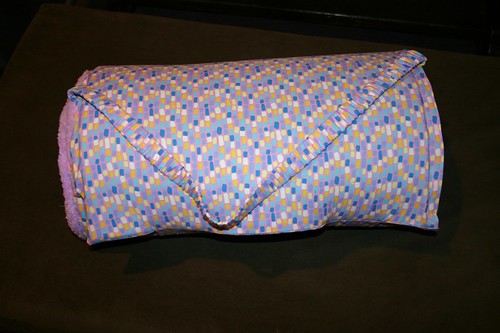
Even though she is going to a new school this year and will not be using a vinyl Kindermat underneath, I decided to make one in a similar style to her old one, which is only lightly padded. That being said, if you are concerned about the mat being directly on a hard floor or you just generally prefer something more plush, then you may want to try Jenny's tutorial instead. But if you want something more compact to take on trips, to friends' or relatives' houses, or to use on carpet or a bed, then this might be more up your alley. Another bonus of this nap mat? It's completely machine-washable!
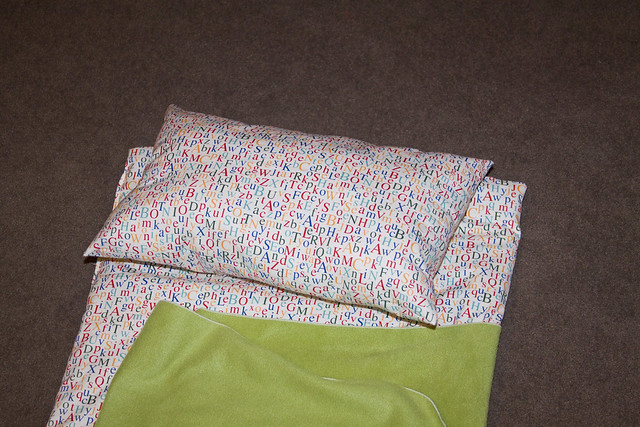
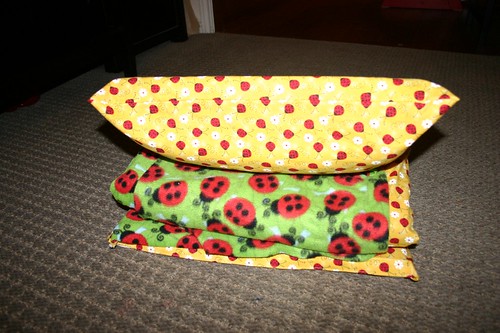
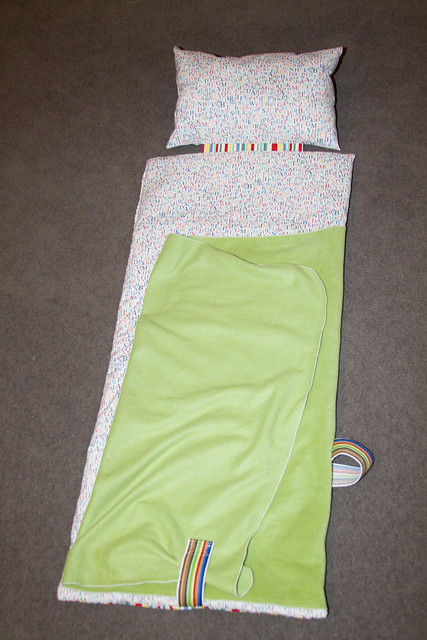
When I came back to this project, I realized I forgot to account for the fact that kids have a pesky way of growing taller and my initial design is now a bit too short. So to compensate, I have lengthened it a bit and added a detachable pillow which can be flipped down for littler ones, and then flipped up as they grow. Hopefully, this will be the last one I make for a while.
So all that being said, here is the tute! I'm still rather new at writing up tutorials, so any comments or suggestions are appreciated! Oh and I apologize in advance if the pictures are confusing - I realized after finishing the first one that I didn't take enough and took some of the next one I made.
This tutorial is for personal use only, please don't sell from it. I'd love a linkback too if you post what you make from it! ;)
Materials needed:
1 1/2 yards Top (inside) fabric
1 1/2 yards Bottom (outside) fabric (*see note at bottom if you want to use the same fabric for both sides)
1 yard fleece (for the blanket)
Poly-fil or other polyester fiberfill (for the pillow)
1 yard of 1" wide nylon webbing
Approx 12 inches of 1" wide velcro
1 package crib-size (45x60) quilt batting
1/8 yd lightweight fusible interfacing (scraps will work too since you only need enough to cut one 4" square and one 4"x10" rectangle)
*If you want both sides to be the same fabric, you can get by with just 2 yards TOTAL as long as your fabric is 45" or wider. Be forewarned that most quilting-weight fabric is right on the cusp of 44/45" and will likely shrink a bit if you prewash, so you may want to go ahead and purchase the full 3 yards.
Instructions:
1. Cut one 22"x46" rectangle each from the top and bottom fabrics.
2. Cut a 36"x 44" rectangle from the fleece. If you like, you can finish 3 of the edges on a serger or with a overcast or blanket stitch, or you can leave them raw, like I did last time, since the fleece will not unravel.

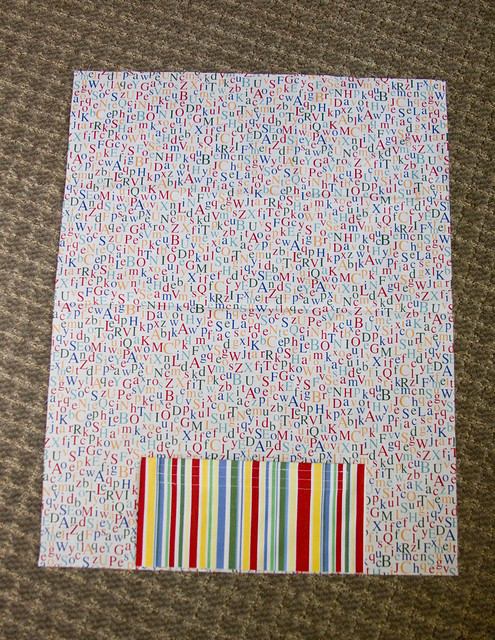
3. Cut a 4" square piece of the interfacing. Fuse to the WRONG side of the Bottom panel, 20" up from the foot/bottom (assuming your fabric orients in one direction) or short end, and 9" from either side.
4. Cut a 4"x12" rectangle of interfacing and fuse to the WRONG side of the Bottom panel, centered about 1/2" down from the top.
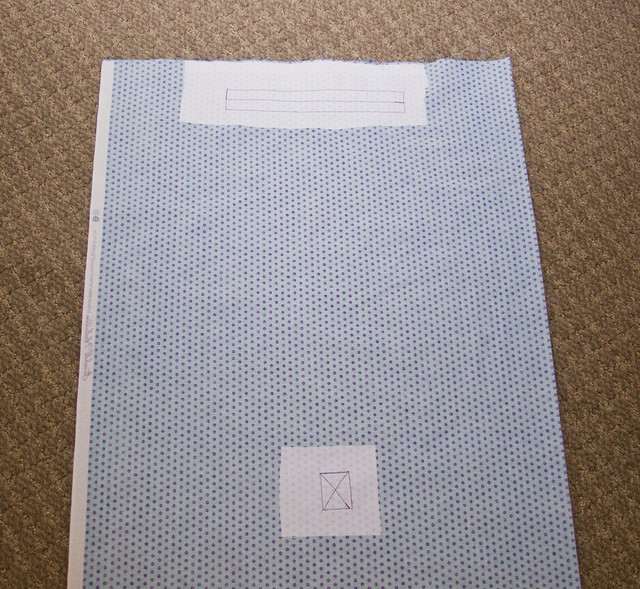
5. On the right side of the Bottom panel, in the center of where the 4" square of interfacing is, sew a 2" piece of the female side of the velcro. I usually sew around the edges and then reinforce with an "X" through the center.
6. On the right side of the Bottom panel, along the top, sew a 9" long strip of the female side of the velcro in the center of the where the interfacing rectangle is.
7. Cut 27" of nylon webbing for the strap. If you prefer, you can make a strap out of some of the leftover top or bottom fabric: cut a 4"x27" strip. Fold lengthwise and press a crease in the center. Then open it up and fold the two long sides toward the crease in the middle and press. Fold in half again and press again. Stitch 1/8" from edge to close. If you are using quilting-weight fabric, I recommend interfacing the strap so it stands up better to wear & tear.
8. Place one end of the strap on each side of the RIGHT side of the Bottom panel, 14" up from the foot. Baste in place with a 1/4" seam allowance, leaving a 1/2" tail hanging off either edge.
9. Cut 6" of nylon webbing for the tab. (Again, you can make a tab from fabric if you prefer by following the same directions as for the strap.) Sew a 1 1/2" piece of the male side of the velcro to one end of the webbing.
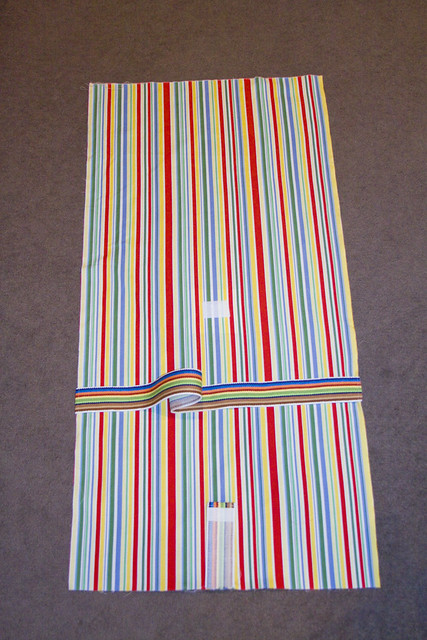
10. Place the tab in the center of the RIGHT SIDE of the Bottom panel (10 1/2" from either side), velcro facing up, and pointing in towards the center of the panel. Baste in place, leaving a 1" tail hanging off the bottom edge.
11. Cut two 22"x46" rectangles out of the batting. (You can do more layers if you want the mat to be thicker, but I probably wouldn't do more than four total. Alternately, you could also purchase thicker batting by the yard instead of the pre-packaged kind.) Line up the batting on the WRONG side of the Top panel and baste in place.
12. Flip over the Top panel so that the right side is facing UP. Line up one edge (the raw one, if you finished the edges) of the fleece blanket, along the edge of the Top panel also with the right side facing UP. Baste in place.
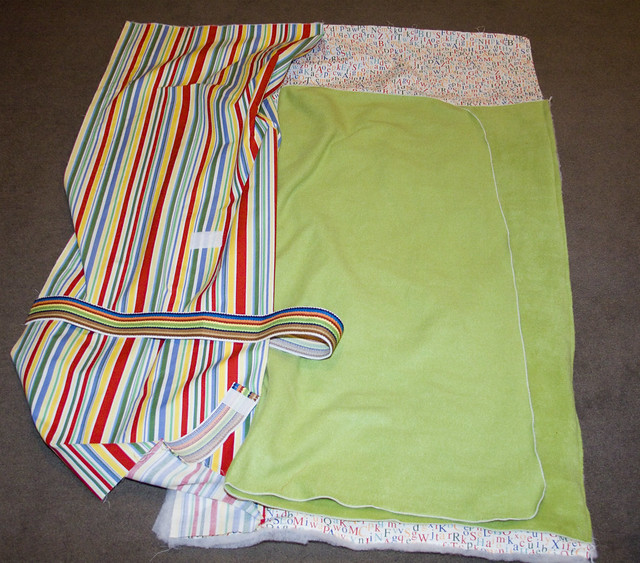 13. Note: you can skip all the basting if you like. I just think it helps keep everything in order. Just make sure that when you make a sandwich of your pieces, they are in this order:
A. Bottom panel (right side up)
B. Straps
C. Fleece blanket (right side down)
D. Top panel (right side down)
E. Batting
14. Starting 9" up from the bottom right corner, sew almost all the way around the edges of the nap mat, using a 1/2" seam allowance. Stop just after you turn the last corner, leaving a 6-8" opening on the side. Be sure to backstitch at either end.
15. Turn the entire nap mat, right sides out. Stitch the opening on the side closed. If you want the seam to be invisible, I recommend hand-stitching. I'm lazy though and just ran it through my machine. ;)
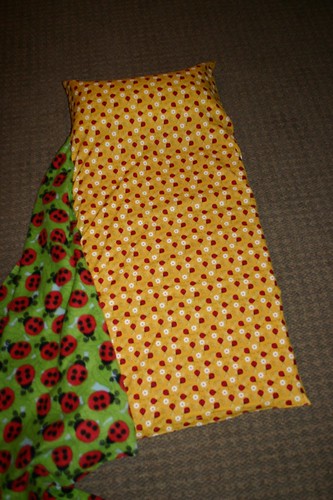
16. Last, but not least, you need to make the detachable pillow. Cut an 18" x 25" rectangle out of whichever fabric you prefer. This will be the body of the pillow.
17. Next, cut an 11" x 9" rectangle out of either the same or the opposite fabric (again, whichever you prefer). This will be the detachable velcro tab. Fold it in half lengthwise, right sides together, so that you have a rectangle measuring 11" x 4 1/2". Stitch along the short sides and turn the right sides out.
18. With the right side facing down, place the tab you just made along one of the short sides, lining up the raw edges. Fold the pillow fabric in half, wrong sides together, so that the short sides meet and you have a rectangle measuring 12 1/2" x 18".
19. Sew along the edges, leaving a 4" opening at one of the short ends. Turn the pillow right side out and stuff with polyfil. Stitch opening closed either with machine or by hand.
20. Sew a 9" strip of the male side of the velcro to the tab, about 1" up from the bottom. You can adjust the placement if you want the pillow to be closer or farther from the body of the nap mat.

Hope that helps someone out there! :)