Showing posts with label costume. Show all posts

Sunday, November 14, 2010

Halloween!

Apologies for the extended absence. Again.  October got pretty busy for me, what with Halloween festivities and all.  This year I took on the challenge of making not just a costume for E, but also one for her friend Sofia, and two more for a friend's daughters as well. 

E changed her mind about a half dozen times on what she wanted to be for Halloween, but she finally settled on a ladybug.  I was pretty happy, as I knew it would be fairly simple.  I used Simplicity 1726 for E's costume which was super quick and easy to make.  Outer is fleece, dots are felt, and it also has a silky black polyester lining.  I ended up whipping up a matching costume for her doll, as well.  Hee!

photo

E's friend, Sofia, wanted to be a cow.  I made this jumpsuit from the same Simplicity pattern, substituting a velboa cow print for the fleecy lamb fabric.  Again, fairly straightforward to make, especially since it used velcro for the back closure.  I did sub ribbed fabric for the neck and sleeve bands, and I left the elastic off the bottom of the legs as well.
photo 

Here they are together at their school's Trunk or Treat event.  I had a bit of trouble with the hood, which turned out WAY too small, despite making it exactly according to their instructions.  Have I mentioned before that Simplicity's instructions tend to suck?  I ended up adding a flap to the bottom so that it would be long enough, and just leaving it open in front.
photo
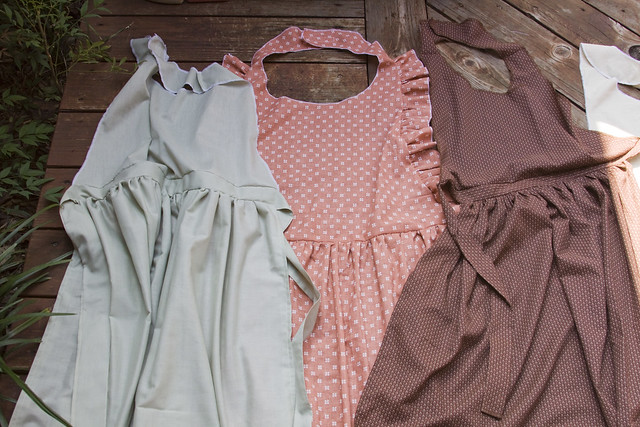
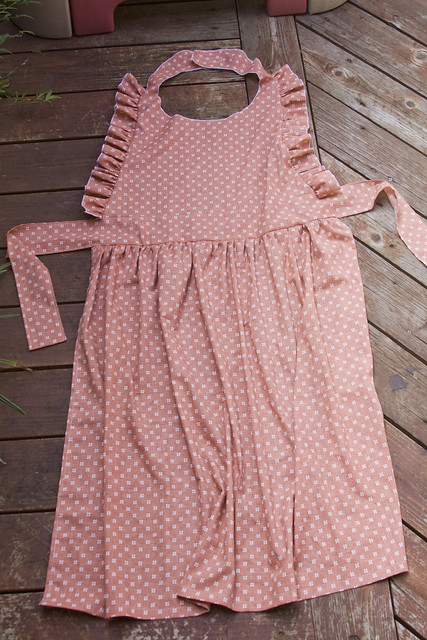
The other two costumes were for a photographer friend of mine whose kids were doing a Wizard of Oz theme.  First up is her oldest daughter as Dorothy. Isn't she too adorable?!  It's loosely based off of McCalls 4948, but rather than have a fake bib attached to a dress bodice, I made it an apron-style dress that tied in back, and she put a simple white shirt underneath.

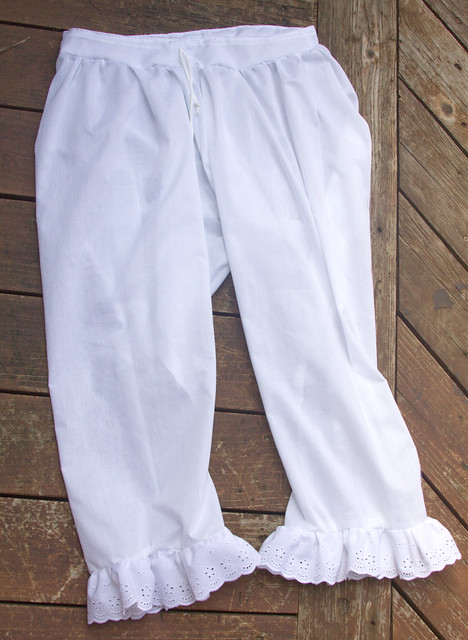
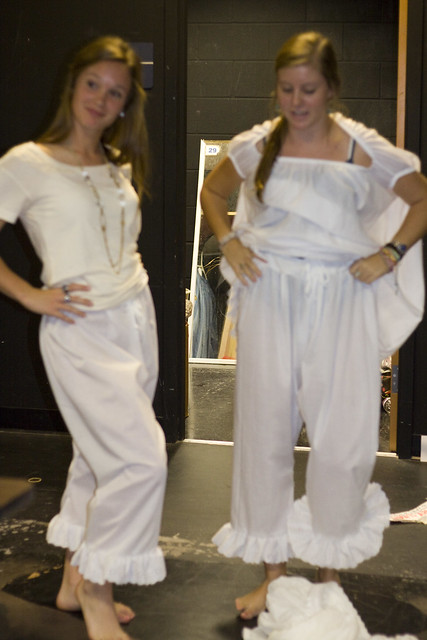
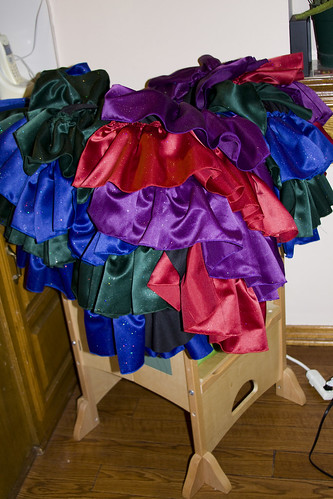
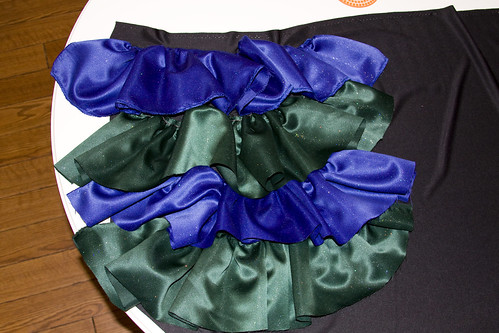
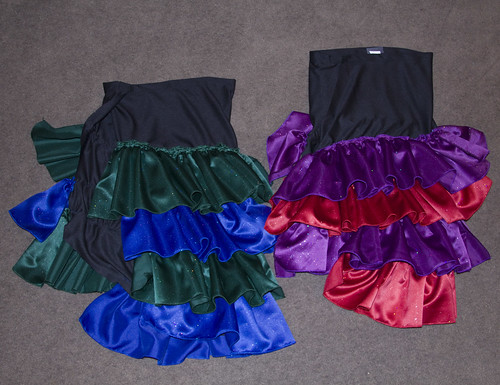
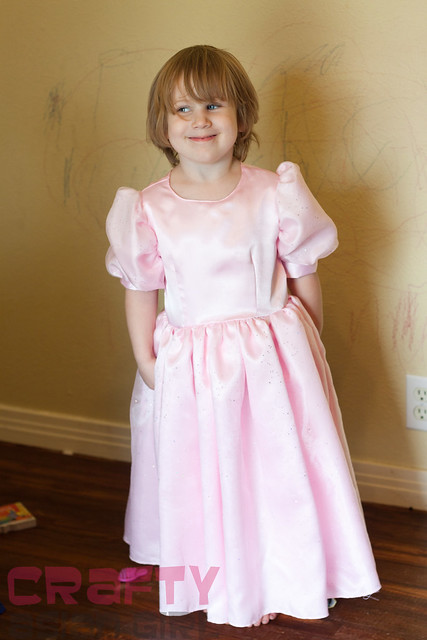
Her little sister was Glinda, the Good Witch.  This was made from the same McCall's pattern and was by far the most challenging costume of the four. It's hard to see in this picture, but the skirt and sleeves have a layer of sheer sparkly fabric overlayed on the pink satin.  This was my first time working with costume satin, and I must say, I am really NOT a fan.  If it weren't for my serger, I'm not sure if it would have been possible for me to make this costume at all!  The longer I worked with it, the more it shredded and fell apart. :P  But, I got it done with my insanity mostly intact and was pretty dang proud of myself.  I do love a good challenge. ;)

photo 

And here's the whole gang, minus one lion. ;)
 

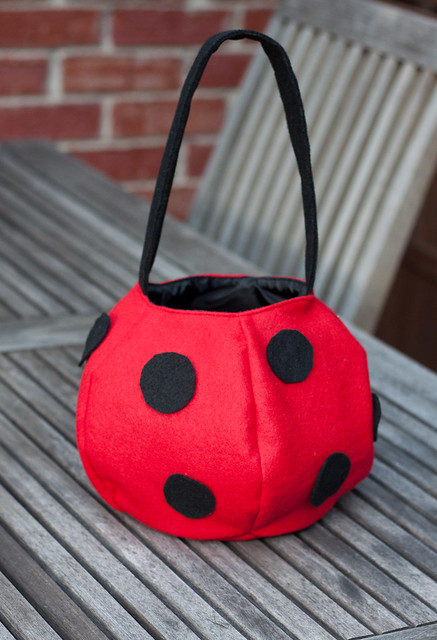
Of course, now that E has figured out that I can make things, she's started making requests.  The day before her school event, she asked me for a matching bag to go with her costume.  I've long admired the cute round ones from Pottery Barn Kids, and being a tad masochistic, I decided to try and replicate the shape for E's treat bag.  I made one from scrap first, just to get the shape right, and then used red felt for the outer and black polyester for the lining.  I'm pretty happy with how it turned out and I'm thinking I may take orders on custom ones next year, now that I have a pattern drafted.


photo

Wednesday, September 22, 2010

Costumes

My friend Heather asked me to make some more costume pieces for her fall show, Little Women.  At first she wanted me to make 5 or 6 corsets, but after doing some research on them, I realized that those might be beyond my skill level - or at least that many in the time frame given would be - and bust her budget as well.  Anyways instead, I sewed up a bunch of old-timey pantaloons/drawers/bloomers or whatever you want to call them. 

photo 

I used Simplicity "Historical" pattern 9769, but realized after I started sewing that historical meant that they were wide open in the crotch, pretty much from front to back.  So I had to make a few alterations, which on the one hand, made them quicker to sew, but on the other hand, gave them less flexibility in the waist.  Lucky for me, the girls can to shimmy into them and once on, they won't have to change out of them during the show.  Here are a couple of the girls, modeling them.  (Sorry for the extreme blur, it was dark and I didn't realize how out-of-focus it was till I got home.)
 
photo 

I also made some old-timey aprons for the girls to wear over their dresses.  Again, sorry for the crappiness of the pics, but I was in a mad rush to get them done and delivered so I only had a quick minute to snap a couple pictures.  I'm hoping for better ones from the actual show.

photo 

photo

Here's a better shot of my favorite one, which I added a cute little ruffle to on the sides.
photo 

I have to say, despite the tight deadlines, making this stuff is actually pretty fun.  I really enjoy the challenge of making things that I would otherwise never make in a million years, and because they're for the stage, they don't have to be super perfect since no one will be really up close to see mistakes. ;)  Also thank god for my serger - it would easily take me twice as long to sew these up without it since I'd have to turn and topstitch all the raw edges.

Oops, almost forgot. I also whipped up a bunch of little drawstring purses for the show too.  Two are in a fancy brocade, the rest are from leftover scraps from the aprons or other fabric I had laying around.  These were made in the most generic way possible - serged together and then a piece of scrap sewn to the inside to make a casing for the drawstring.  Again, lucky for me they don't have to look nice up close, just from far away. 


photo

Wednesday, September 1, 2010

Fall Sewing

"Fall" sewing is probably a bit of a misnomer considering that temperatures are still regularly in the mid-90s here in Texas.  It'll probably be close to November before we get even close to what I consider to be fall temperatures, but I digress.  It's hard to believe it's been more than 2 months since my last post.  We took a long vacation for most of July and I've been playing catch-up ever since.  I also am STILL tweaking my long-promised nap mat tutorial (my punishment for being OCD), but I promise to get it up one of these days, probably when no one will really need it anymore.  :P

In any case, I did make not one, but two nap mats this year; one for E and one for her bff.  They are actually attending the same school this year, so they'll get to spend a lot more time together. 

photo
I made the initial mistake of cutting both mats to the same dimensions as E's old one, not accounting for the fact that the kids have grown quite a bit in the last year.  Doh.   To compensate, I ended up adding a separate, detachable pillow, which I think actually worked out rather well.

photo

photo

I also had a couple commissions recently for new items, one for a friend's son, and the other for another mommy.  First up was a cheerleader costume for a woman who was looking for something more authentic-looking (and modest) than the standard "sexy cheereleader" costumes you find in most shops.  I had never made anything like this before, but I rather enjoyed the challenge. I used a pattern I picked up at Jo-Ann for pretty cheap, with very few modifications other than to add a few inches to the hemlines and some short sleeves to the shell.

photo
I wish I'd had a chance to take a picture of her trying it on.  It looks much better on than it does laying on my floor.  I love that style of pleated skirt and I'm thinking about making a miniature version for E now.

Next up is my first boys' clothing item and first button-down shirt.  I absolutely adore this airplane fabric, so I was super excited when a friend of mine requested I make her son a shirt out of it.

photo

Sewing the collar on took me forever to get right, as the pattern directions were horrendous, but after my friend, Jacki, pointed me toward this tutorial with a video, I finally figured it out. 

After all that, I decided to sew something just for fun.  I settled on a simple little tunic/dress out of a Japanese sewing book (Pochee Natural and Layered Style) that my cousin picked up for me in Japantown.  It's pretty much just a front, a back, and an elasticized pocket, with pintucks and binding. Except for having to make the binding, it was a pretty quick little project. I think it turned out super cute!

photo

I had a pretty large scrap of fabric leftover after making this, so I decided to make one for E's baby doll too.  I scaled down the pattern pretty much just by eyeballing it, so it's not quite right (too big around the neck), but I don't think she'll complain. ;)

photo 

Here they are together, hee!  In the book, it's worn as a tunic, layered over a sleeved top and some leggings, but E wore it as a short dress.

photo

Thursday, February 11, 2010

The Great Ruffle Project of '10

IMG_0441 by you.


About a month ago, a friend of mine asked me to make some costumes for a high school musical she's directing.  Specifically, she wanted seven tango-style skirts.  I rarely work from patterns, but I am generally good at picturing how I want things to turn out, so I agreed to give it a shot, even though I've never made anything like that in my life.  Little did I know that I would end up knee-deep in ruffles!

Basically, I wanted to make a wrap-style skirt that has a high slit up one leg, and then I attach layers of ruffles to the skirt.  In my head, this all sounded very simple and straightforward.  So off to the fabric store we went, where we picked out a bunch of glittery satin-y fabric in four different colors, as well as a drapey black jersey for the skirt bases.  I think in total, I ended up taking home about 20 yards of fabric, easily the most I've ever bought in one go, for one project!

My original plan was to cut long, 7" wide, single strips for each row, and then to gather those strips. But after spreading out 4 and 5-yard swaths of fabric across my floor, I realized that not only would it be exceedingly difficult to cut a 4-yard long straight line, it would also be a tremendous pain to pull & gather that much fabric.  Instead, I cut strips across the width of the fabric, which was just shy of 60 inches.  I probably should have seamed the pieces together, but in order to save time, I opted to slightly overlap them when I sewed them on.  I think the overlaps are barely noticeable.
IMG_0197 by you.

The other thing I failed to think through was just how long it would take me to make all these ruffles.  I did the math at one point, and I think it came out to around 100 yards worth of fabric strips that needed to be gathered!  Can you believe I thought I'd be able to do this by sewing basting stitches and then pulling and gathering hand?  That insane delusion lasted long enough for me to make one very pathetic-looking ruffle before I started searching for other ideas. 

Lucky for me, I have lots of very clever sewing friends, one of whom suggested a ruffle foot, and another of whom was extremely kind and generous enough to loan her ruffler to me.  Can I just say, that ruffler saved my freaking life?! 

Here's a pic of the ruffler foot.  It looks like a totally insane and intimidating contraption.  There are a number of moving parts, as well as various knobs and dials that need to be adjusted, so there is a bit of a learning curve to overcome.  But once you've got it set up properly, it makes the most beautiful, evenly spaced gathers!  I loved it so much that despite being rather pricey, I went out and bought one for myself!  One word of warning though, because it does move and shake so much, I noticed that after a while, some of the knobs tended to come loose, particularly the big one that holds the foot onto the shank of my machine.  So if you're going to be using this for big projects, make sure you frequently give everything a quick twist to tighten.

Once I had all the ruffles done, it was a simple matter of attaching them to the skirt bases, turning down the top to make a simple waistband, and then adding velcro closures.  Although when I say simple matter, I should mention that it still involved hours of careful pinning, haha.  And there was also the not-small issue of having to finish the edges of the satin, which unravels like crazy.

IMG_0447 by you.
In any case, here are two of the finished skirts.  I ended up doing 4 in green/blue and 3 in red/purple.

It's very difficult to get a sense of how these really look when they're just laid out on the floor, so here is a picture of the back one skirt pinned around a pillow. Basically, the ruffles start just below the buttocks, and the slit goes almost all the way up the thigh.  The hemline is tapered a bit, so they are longer on one side.  My understanding is that the girls are going to be wearing these with black leotards, black tights and maybe black booty shorts too.  I'm hoping to be able to get a picture of them in action at some point.

Sunday, September 27, 2009

Bumblebee tutu

IMG_11352 by you.


Despite my desire to be uber-crafty, I opted not to make E's Halloween costume this year. Being the ornery & mercurial little toddler than she is, I had a feeling that after killing myself to make her costume, she'd refuse to wear it. Instead, I picked up two moderately priced store-bought costumes that are big enough for her to wear for dress-up for a good long while. I figure she can pick whichever one she wants on the day of.

One of them is a bumblebee costume from Old Navy, which mainly consists of a fleece vest with wings & a hood. I thought it'd be cute to have a tutu to accompany it. There are a million tutorials all over the web on how to make no-sew tutus (in case you're too lazy to search, you basically just cut strips of tulle and knot them around elastic or ribbon). For some reason, the idea never really appealed to me until now, and I have to say, it was crazy mega easy.

I picked up a couple rolls of tulle on sale at Hobby Lobby last week, and I already had some black elastic laying around that I sewed into a loop. After that, it was just cutting & knotting. I did the whole thing in front of the TV and finished it in just an hour or two. And it cost under $5. My kind of project.


Of course, as expected, my child refuses to wear it. Or even touch it. I'm hoping that she comes around soon, but if not, whatever. At least I didn't spend a ton of time or money on it.

LinkWithin

Blog Widget by LinkWithin