
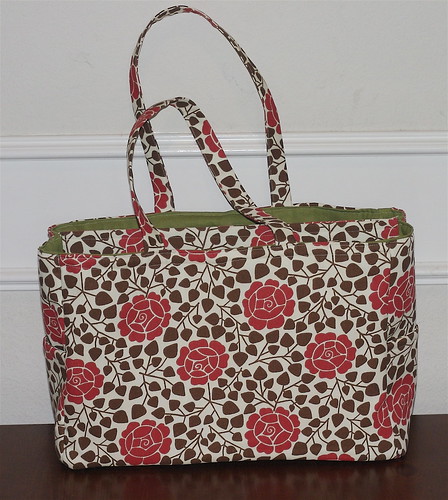
Inside:
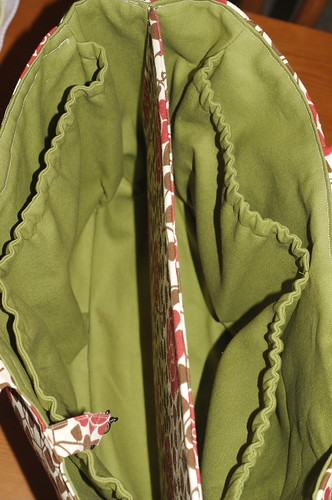
Outside side pocket (there's one on each side):
So now that that's done, here's the rundown on the pattern. Keep in mind, I don't work much from patterns. I generally prefer to work out my own ideas.
The good:
It feels like a very solid bag. It's also HUGE, so while I probably won't use it for everyday, it'll be great for those days that I have a ton of crap to lug around. I also like that it has some padding to it.
The bad:
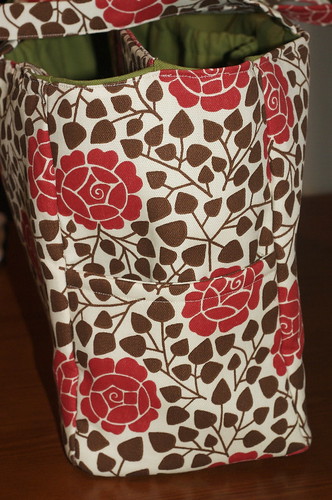
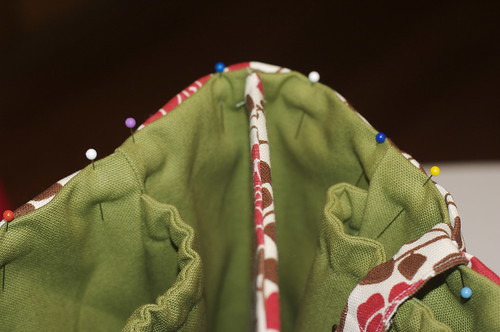
This bag is a LOT of work. As I mentioned in a previous post, there are 48 separate pieces to cut for this bag. Once you get past all the legwork of cutting and ironing, it can go together fairly quickly. The inside is definitely the trickiest part since you have to deal with the divider and pockets, with elastic.
The pattern itself could probably be written more clearly. I got stuck for a long time on making the center divider panel. There really weren't enough diagrams, and the ones they did have were confusing to me. I also wish that the book had included pictures of the inside, bottom, etc.
The ugly:
Again, as mentioned before, the center divider makes it really really difficult to stitch the bottom panel on the lining. Also, because of that divider, the way you have to attach the lining to the exterior is also pretty difficult to manage. I used about a bazillion pins, stitched very slowly, and I still ended up with uneven seams and stitching. I'm half-tempted to rip it out and do it again, but at this point, I just want to be done.
Changes I made:
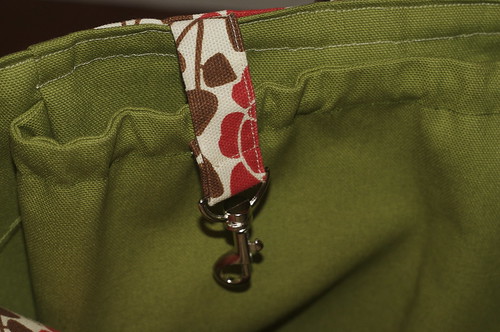
I made the straps longer by about 8 inches. I am not a small person and I knew there was no way 18" straps were going to stay comfortably on my shoulder. I also added a strap with a key clip, since the it's a pain to be carrying a kid and digging around for your keys all the time, especially in a giant bag.
I also contemplated adding a wide panel at the top with a magnetic closure because I don't like how open the bag is. But I was getting really burned out on this project and just wanted it to be done, so I skipped it. But I may go back at some point and add it since I'd only have to rip the top seam. I wish I'd added a smaller pocket for my cell phone and maybe done elastic on the outside pockets too.
Tips for anyone else insane enough to want to try this pattern:
Definitely be as precise as possible when you cut your pieces. I used a cutting mat and rotary cutter and it made a huge difference. There is not a ton of room for error on this pattern. I had to really work to get the inside and outside to match up.
Also, my sewing machine has an adjustable presser foot, so I could ease the pressure. This was a huge plus when it came to sewing over the pockets and corners, where there were sometimes as many as 8 or 10 layers to sew through! If your machine doesn't have that, I'd consider using a walking foot. Oh and make sure you have a nice sharp needle.
2 comments:
Wow girl. I'm super impressed. And I love the fabric you picked out. What a feat.
I really love this bag! Sorry it was such a pain to make!!
Post a Comment