
Sorry for the delay. I went to the store on Friday night, only to discover that they were out of the fresh skins. Grrr. So I had to revert to frozen, and since they were, well, frozen I couldn't make any more potstickers until Saturday.
For my second batch of potstickers, I decided to go with the more traditional pork/cabbage variety. This was pretty much the standard flavor in our family since as kids, my brother and I thought the leek chives were icky. What did we know?
This time I started out with 2 lbs. of ground pork. The Chinese grocery store near me has three kinds of ground pork: regular, lean, and fatty. I went with regular. I probably could've gotten away with lean, but again, you want a little bit of fat in there or they taste dry. Too much fat, and you're eating sausage. Bleh.
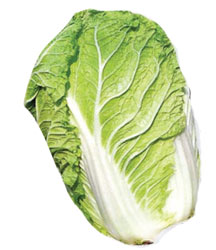 I also picked up a small head of napa cabbage. In case you're not familiar, it's oblong in shape, and has a milder flavor and crisper texture than the regular kind. I forgot to take a picture, but it looks like this. When choosing a head, I prefer ones that have nice green leaves, but I'm told that they're still good if they're mostly white. Just avoid heads with lots of little black dots on the white stalk part, near the bottom.
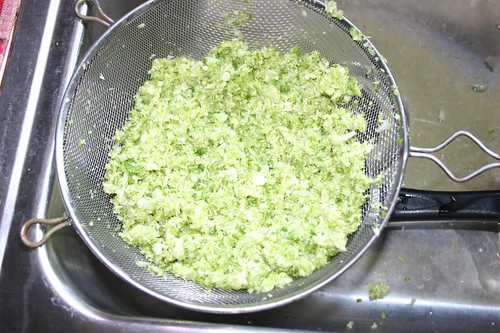
Basically, I took the whole head of cabbage, chopped it into large pieces and then threw the whole thing (or as much would fit in one batch) into my food processor and chopped it pretty fine. You don't want it to be liquefied, but you want it pretty small. Put all the chopped cabbage into a sieve or colander and sprinkle with a very generous amount of salt - like a whole tablespoon. Basically, this is going to help the cabbage release all of its excess water so that later, when you cook the potstickers, they won't go all soggy on you. I'd leave it for at least 5-10 minutes. Then rinse with water, squeeze all the excess out, and salt again - but use 1/2 as much the second time around. You don't want your filling to end up too salty.
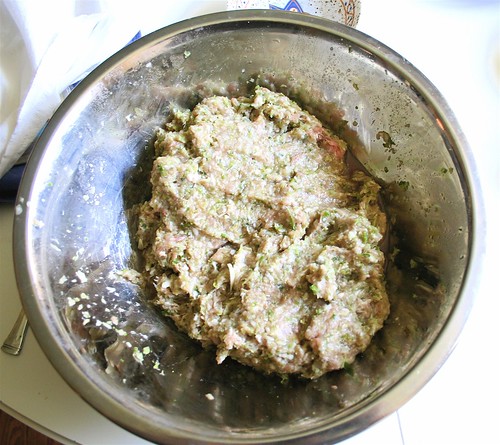
 To the ground pork, I added a couple tablespoons of rice wine, a couple tablespoons, and a about a tablespoon each of ground ginger and garlic. I'll admit, I cheated and instead of chopping fresh, I used 2 tablespoons of a chopped garlic/ginger paste that I bought at an Indian grocery store in a gigantic jar. It's very handy. Now mix everything, including the cabbage together. Your hands probably work best, but if you're squeamish about meat...well, you might not want to be making this recipe. Oh, and add salt & pepper to taste too.
I underseasoned the last batch, so this time, I actually cooked up a tiny bit of the filling in a pan so I could taste for seasoning. But you don't have to go that far if you don't want. The dipping sauce will probably make up for any lack of salt. Here's a pic of the raw meat mixture. Again, not pretty, but it will be later.
I got into kind of a crunch and didn't get any more pictures of how to wrap them dumplings. Sorry. But I did take plenty of pictures of the cooking process. Again, the easiest way to cook these is to throw them in a pot of boiling water. But I think they are much tastier when pan-fried. I also feel compelled to mention that it drives me crazy when I order these at a restaurant and they're deep-fried. Totally wrong, bordering on travesty. But I digress.
The best way to cook these is in an electric skillet. They're great because you can set the temperature and they pretty much regulate themselves. You can do these in a pan on the stove too, but it will probably require a little more monitoring and tweaking of the heat. Heat the pan to 350 degrees. Give it a while to get good and hot. Then pour in a tablespoon or two of oil and swirl it around to give the bottom a good coat. Put the dumplings in the pan. I prefer to line them up in rows. You want to make the pan pretty full too, like this:
 While those brown up on the bottom a bit, mix together a couple tablespoons of flour and about a half cup of cold water in a small cup or bowl. (You want it to be smoother than the lumpy mess in this picture)
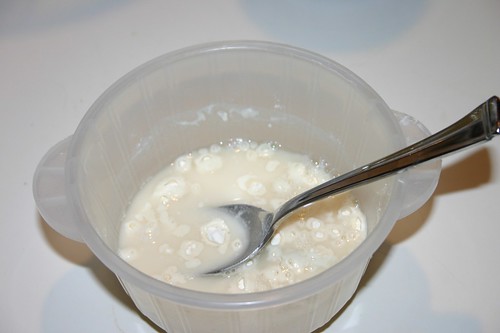 Now pour the flour/water mixture into the pan, around the dumplings. You want to cover up any parts of bottom of the skillet that are showing.
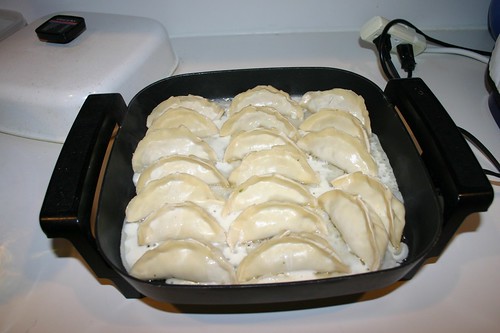 Now put the cover on and leave it alone for a good 10-12 minutes. Resist the temptation to open it up and take a peek because you'll be letting all the heat out and they'll just take longer. Seriously. Don't touch.
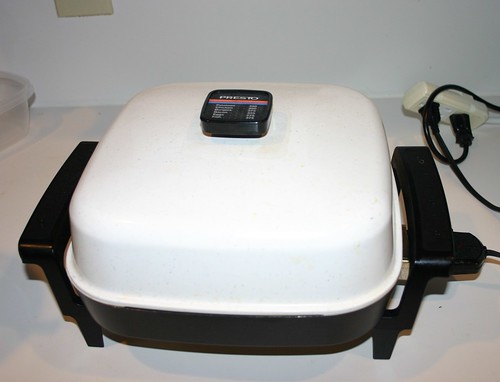 The flour/water thing was my grandma's trick to making a nice crispy crust on the bottom of the dumplings since the water evaporates, leaving another thin layer of "dough" on the bottom. That was the real secret about these potstickers; they're really cooked more by steam than anything else, even though they're technically considered pan-fried. So you could almost convince yourself that they're not that bad for you. Almost.
After the 10-12 minutes have passed, your dumpling should look something like this:

They should be all glued together in more or less one big piece on the bottom. Using a spatula, carefully ease up one edge and check to see if the bottom is golden brown. If not, cover again and leave it for a few more minutes.
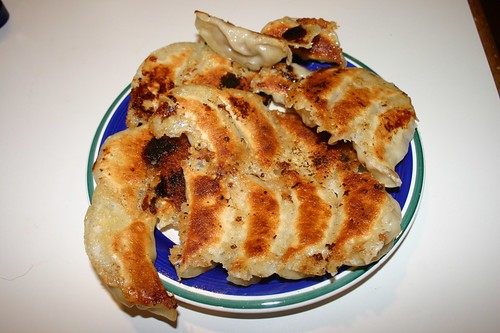
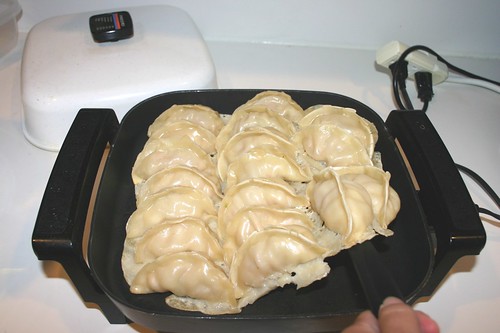 Once the bottom is brown, you have the option of flipping the whole thing over to brown the top a little too. But you really don't have to unless you want. It should look golden brown, with a thin lacey crust on the bottom.
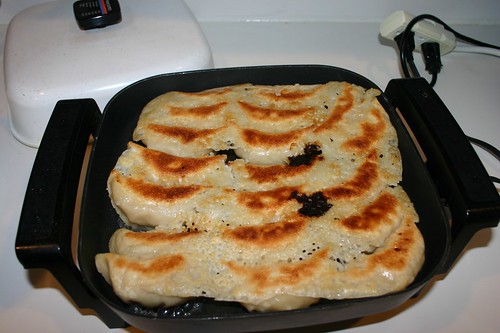
My grandma told me that they are actually supposed to be served "upside-down" this way, so you can see the golden crustiness. In our family, these were never just an appetizer. We used to eat whole plates of potstickers for dinner. Cooking them this way gives them a nice crunch on the bottom, but you still get the chewiness of the rest of the wrapper. T and I gorged ourselves last night, almost to the point of being total gluttons. They were so good though, if I do say so myself. Definitely one of my better batches.
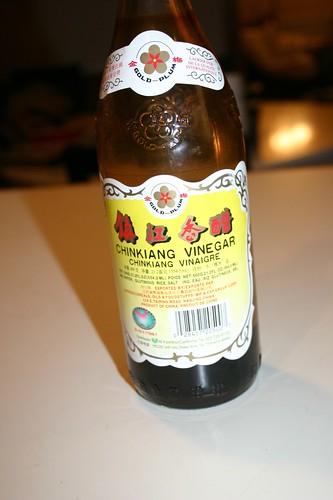 Oh, I almost forgot about the dipping sauce. Mine is pretty simple. It's more or less equal parts soy sauce and Chinese vinegar. I prefer Chinkiang, pictured at right. I don't know if it's a specific variety or what, but it doesn't taste like any other vinegar in my pantry, and it's what we've always used in my family. I also add a dollop or two of the ginger garlic paste, a splash of sesame oil, and (if I happen to have them) chopped green onions. Chili paste is also a good addition, if you like a little spice. Mix everything together and go to town.
1 comment:
Those look so good!!! I will have to read the recipe better tomorrow to see if I'm capable of making them.
Post a Comment